Sunday, June 12, 2011

U-Pick Strawberries

I can remember the early days of June.. as a child, my grandfather would bring me along to help him pick freshly ripened strawberries at one of our local farms. I looked forward to going each year and since then, I have always enjoyed strawberry picking and have made a habit of it almost every year. For the first few years, I would bring along one of my nephews, who at the time was 3 or 4 years old. He is now 14 and probably too cool to go strawberry picking with his Aunt Megan! Nonetheless, I have a growing supply of young nephews and nieces and continue to bring 1 or 2 kids along with me every year. A few years ago the farm closed and re-opened under Whippoorwill Farm CSA. This meant the U-Pick Strawberries was only open to CSA members so last year I decided to join the CSA, primarily for the strawberry picking!!! The rest of the CSA season was absolutely amazing I had to join for another year! Last week, we received the CSA newsletter letting us know that the strawberry patch would be open on Friday for strawberry picking... so, I bagged the TGIF gathering after work and left work early to get there for the last hour of picking time on Friday afternoon. My 3-1/2 year old niece, Sydney, joined me for the fun this year for a second year in a row. We had fun picking strawberries (and some daisies) and I hope that this tradition is creating memories that will last...
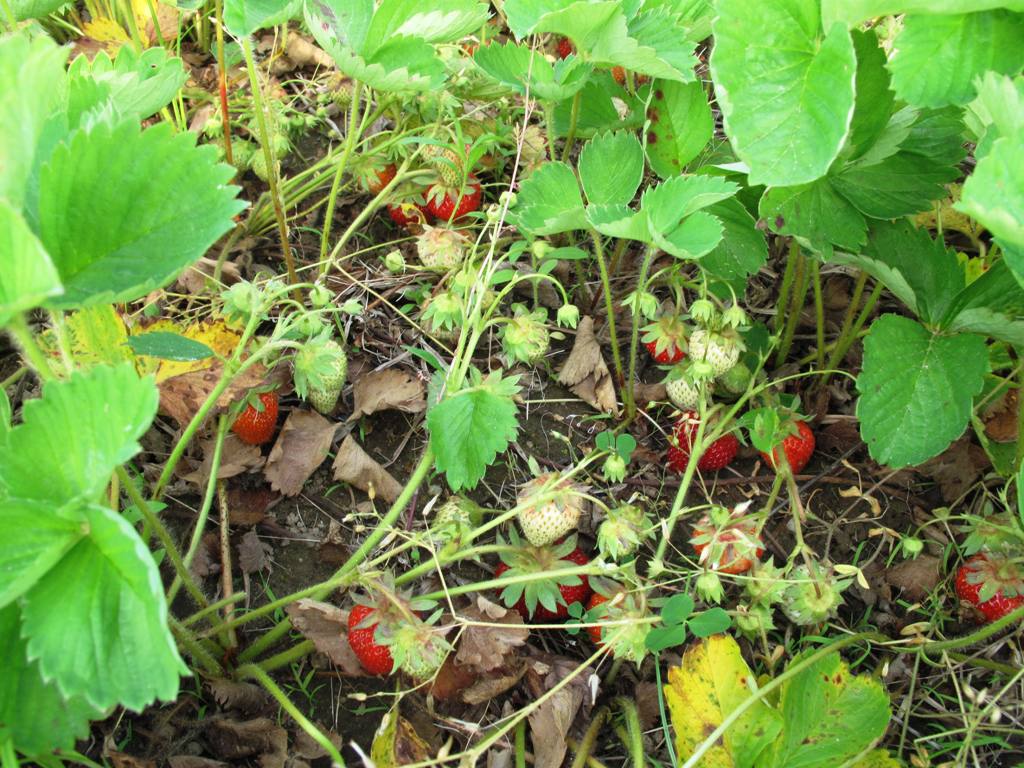
In past years, I've made strawberry pie, strawberry muffins, strawberry lemonade, strawberry margaritas (yum!), strawberry margarita squares, strawberry shortcake...

Yesterday I bought some rhubarb and today I decided to make a strawberry-rhubarb crisp. Found the recipe while I was looking through some cookbooks on this rainy Sunday morning. Heading to my sister's for dinner tonight for Lamb chops and we'll dig into the crisp for dessert!


Strawberry-Rhubarb Crisp

Sunday, March 6, 2011

Cake Decorating (For Amateurs)

Cake decorating can be fun but it can also be a little stressful if you are not prepared or do not allow yourself enough time. I started getting into cake decorating for my nieces and nephews over the years and have learned to make sure I allow myself enough time so that I can take my time with the details and enjoy the process. If I rush, I tend to make mistakes or get a little sloppy and am unhappy with the final result. So... with my latest cake I decided to document my process and share with you all. This cake was for my nephew's 8th birthday and he is a HUGE hockey fan! Special Request: sports theme

Step 1: Pick a theme/image you want to decorate. If it's your first try to keep it simple! What you decide will determine the shape and size of your cake. Here, I chose the Boston Bruins logo.
Step 2: Bake the cake and let cool.

Step 3: Make frosting. My favorite frosting is this Italian Meringue Buttercream I found on Martha Stewart Recipes. It makes 4-1/2 cups which is more than enough to frost a cake. It's not the best option for decorating but it taste great (not too sugary) and works well. The photos below show the process of making this frosting, from making the syrup, beating egg whites, adding syrup to egg whites, and finally beating in butter and vanilla to finish frosting. The directions are pretty straightforward!


Step 4&5: Level cake (all layers) and frost. I wanted a white background so I added a few drops of white coloring gel to brighten the buttercream. Buttercream tends to have a buttery yellow tint to it. This is a double layer cake and I always add frosting between layers as well. The leveling will help keep the top of the cake flat. The layers do not have to be completely flat, but enough to remove the round bump in the center.


Step 6: Divide up remaining frosting and color. Depending on how many colors you will use, you'll need to divide up the frosting accordingly. For this cake, I have 2 colors: yellow and black. Now, this was my first time making black frosting or icing so I would like to share a little tip I learned. After dividing the frosting, I melted some dark chocolate and added it in (about 2 TBSP for about 1-2 cups of frosting). Then I used a black gel food coloring. The chocolate will help with getting a true black quicker without having to add too much coloring. Adding too much food coloring can alter the taste of the frosting. It is best to add the coloring in small portions and mix to see the results. Add more if necessary. Another tip ... while mixing the black color in, the frosting turned a silvery gray at first but in time (by the time I started the decorating) it darkened and turned black.

Step 7: Decorate! With the colors ready and pastry bags filled we are ready to start decorating (I like to have pastry bags ready for each color so there is no need to clean anything once the decorating starts). Depending on what you are going to decorate, it is best to have a plan on where to start and end. You can also use a knife to carve it out first to make sure the sizing is appropriate. Here, I started with the outside first, then the middle and then I filled in the rest.


Finishing touches ... filling in and the side of the cake. For the side of the cake, I filled it in by creating single layers around the cake, starting at the bottom (or you can start at the top) and working my way around and up to the top.


Step 8: Put candles on it and sing Happy Birthday!!!

I have posted a few images of cakes I have made in my Flickr account: Cakes

Wednesday, December 29, 2010

closing out the year...

I am just amazed at how quickly this year has come to an end! It has been a relatively quiet year for me at Knitstyle as my "other" job drew most of my time, focus and energy (as it should). This left very little time for my crafty adventures and involvement with my Knitstyle shop. For me, the knitting, sewing and involvement with the Etsy community has been a positive outlet as there have been a few changes in my life over that the last few years. However, I hate having so many unfinished projects because it all just feels like clutter (physical and mental). There were a few times this past year that I sat down here to write a new blog post and just couldn't think of the words to write and I ended up closing the "new post" window with nothing written. Don't get me wrong, it was a good year with many wonderful things happening all around. One of my favorite new things from this year was participating in one of our local CSA (Community Supported Agriculture) crop shares and found myself happily overwhelmed with all the great veggies, strawberries and flowers I picked up every week for 22 weeks! I was introduced to a variety of new vegetables I hadn't tried (or even heard of!) before and learned a few new recipes. I found myself in the kitchen quite often (instead of in front of the sewing machine) cooking up new dishes; quiches, sauces, a variety of soups, strawberry pie, many fresh salads, pesto, and simply steaming lots of vegetables. For me, I find comfort in the kitchen... I just don't like cleaning up the mess when it's all done! I am already thinking about next season!
So, with the closing of 2010 we welcome 2011... and a new niece arriving soon for me! This only means that I will be busy knitting and sewing new things for her and for my shop! I already have the fabric picked out, squares cut and ready to be sewn together and stuffed. So exciting!!!

Happy New Year and Best Wishes!

Monday, November 29, 2010

CYBER MONDAY SPECIAL

Visit Knitstyle by MMC today, 11/29/2010, and receive 25% off your entire purchase (prior to shipping). Discount with be refunded via paypal within 24 hrs of purchase.

Happy Shopping!!

Tuesday, June 8, 2010

New Items:

Hello!

While I was searching for some new fabric to use in my shop, these wonderful multi colored fabrics caught my eye! The
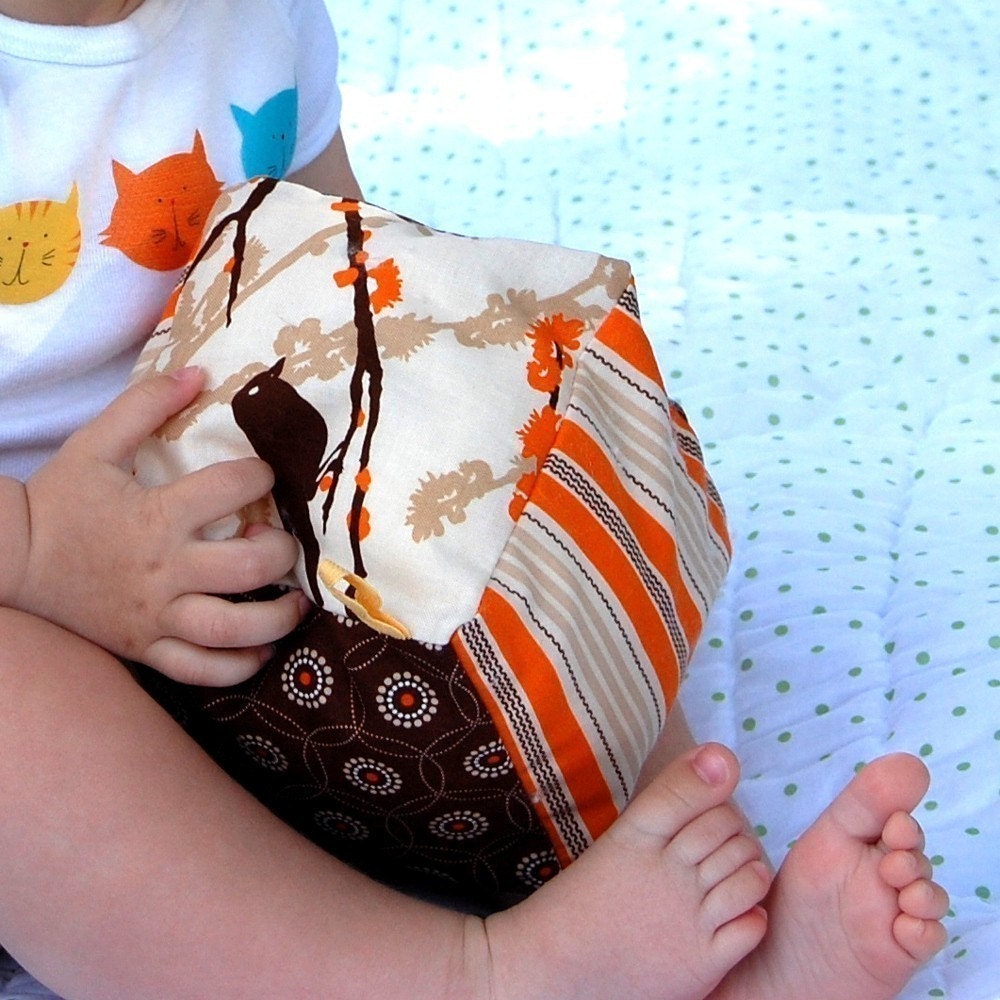
Goldfish Cloth Play Blocks (Heather Ross fabric) have been a big hit in my Etsy shop. I only have a limited amount of fabric left and soon they will be all gone! The Automobile themed fabric is just as fun.

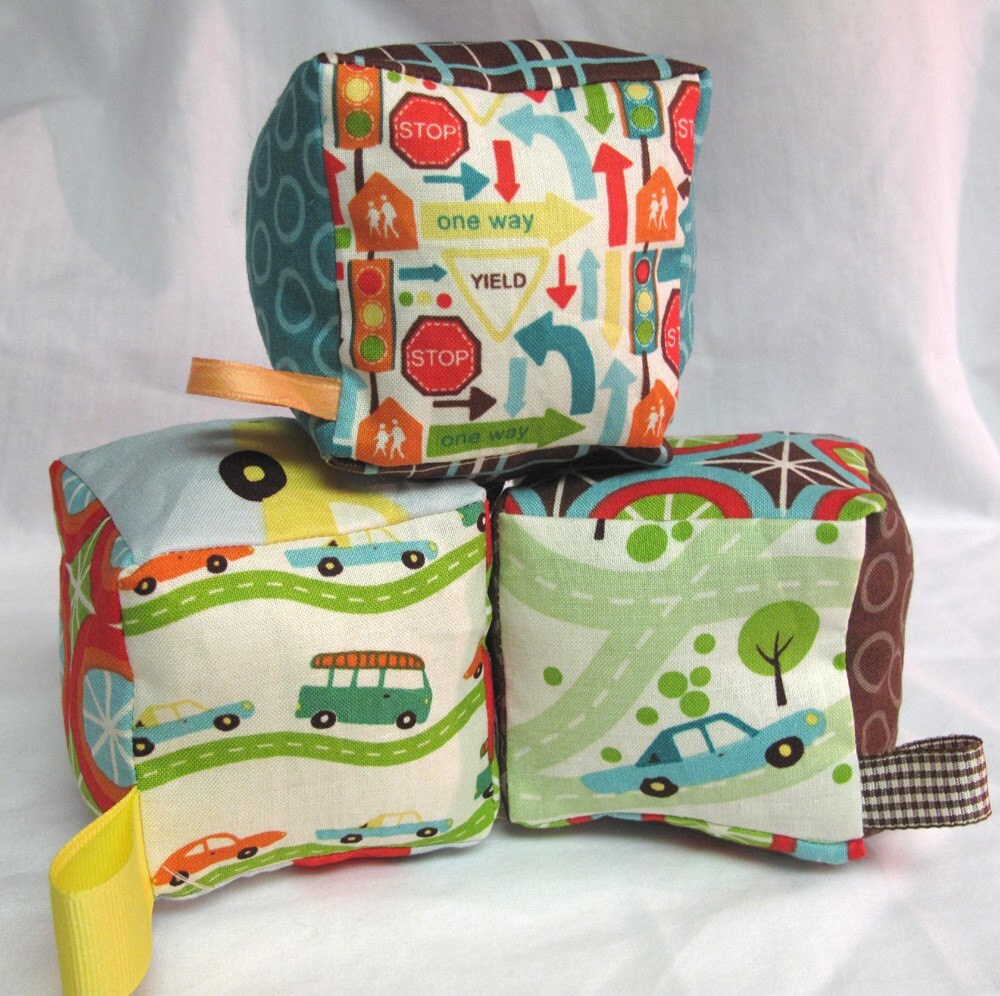
I thought Automobiles would be a great theme to go with and the colors were just so fabulous! Here's a set of 3 Small Cloth Play Blocks with the automobile theme from the Riley Blake collection. The colors: turquoise, orange, brown, red, green and yellow!


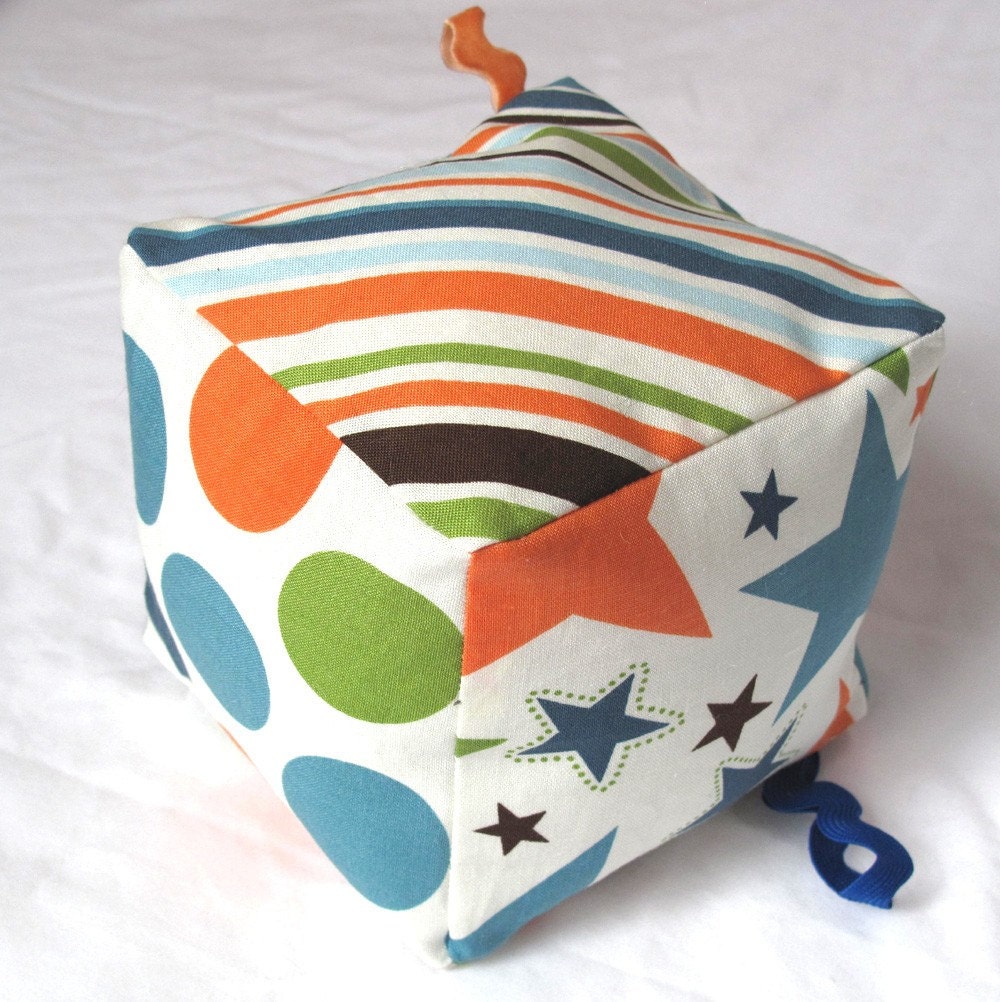
Next, I came across these stripes, stars and circles fabric by the same designer, Riley Blake. These looked fun, colorful, perfect for making my blocks and great for learning shapes. Here's a Medium Cloth Play Block I call ALL STAR!

Please check out my Etsy shop, Knitstyle, for more great Cloth Play Blocks!

Thursday, March 18, 2010

Knitting Pattern

Hello!
The Lizard Ridge Knitting class
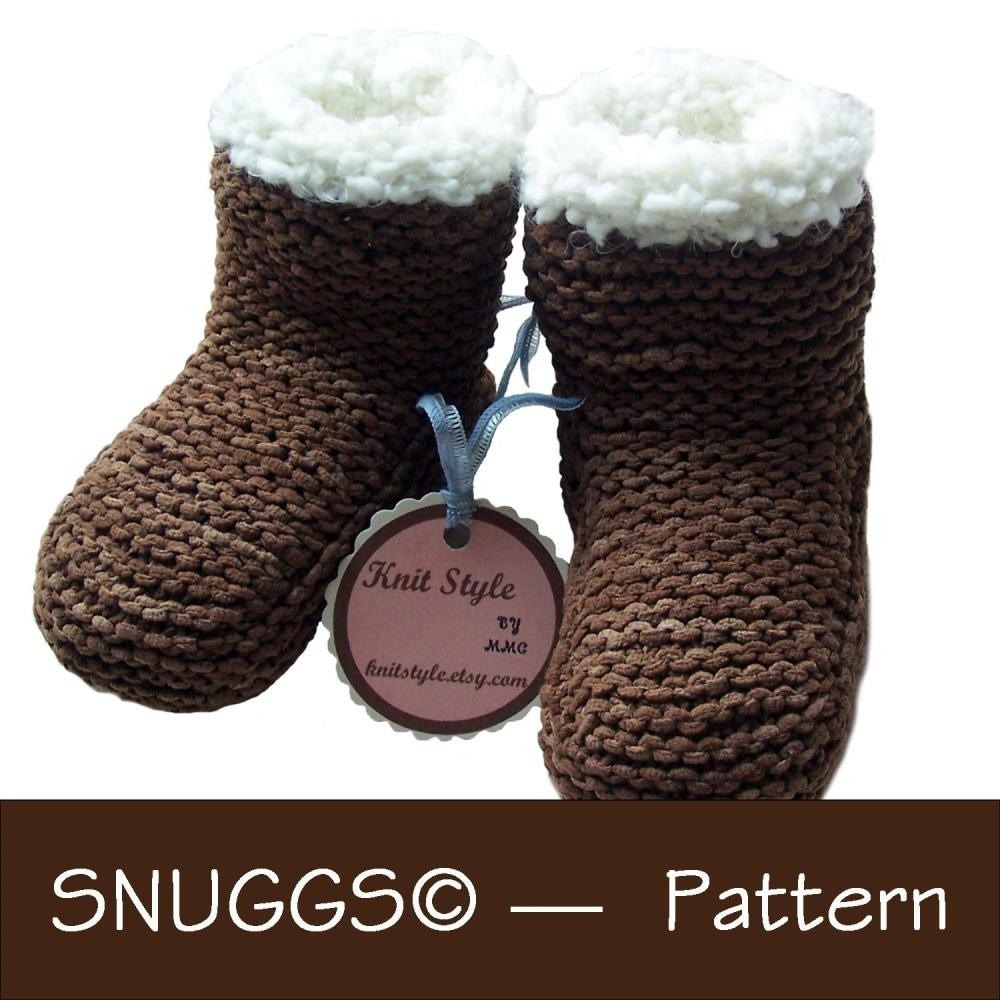
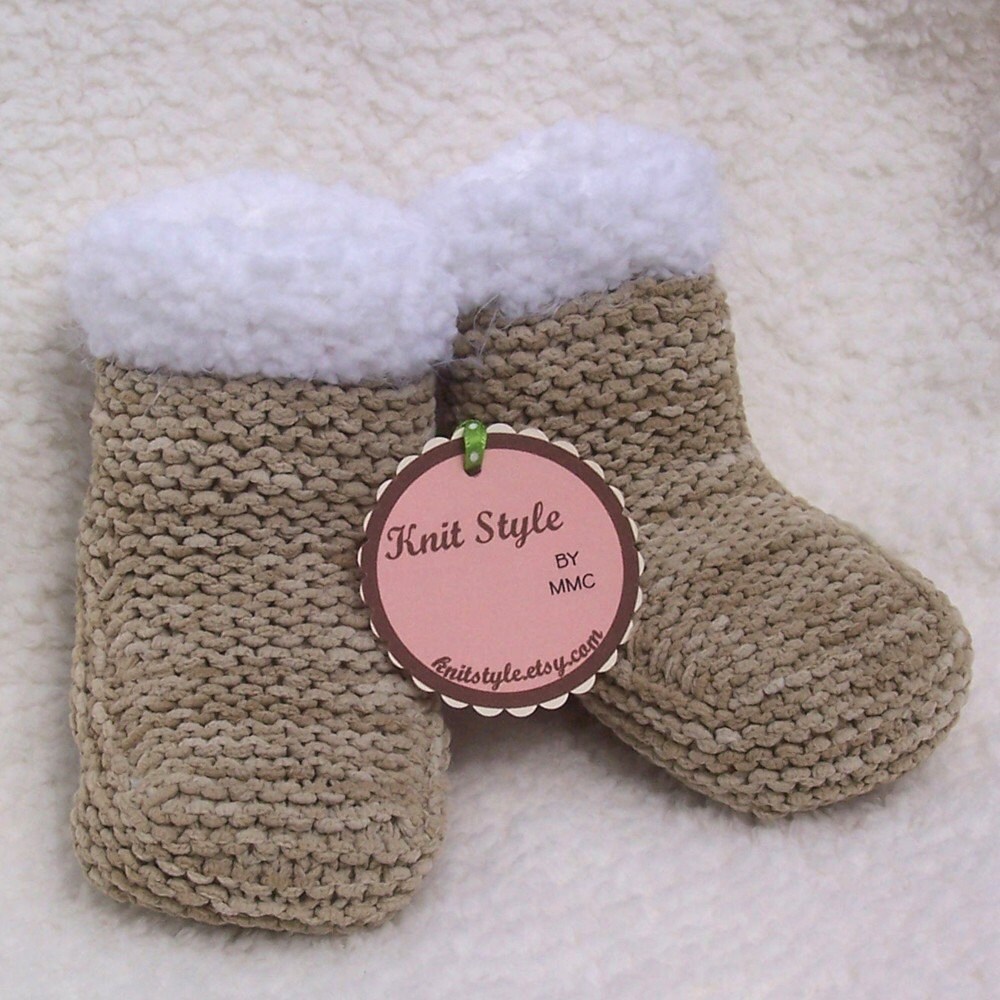
went very well and after 2 classes I am able to continue working without needing help from the instructor! Hooray!! The last few months I haven't had the time to knit and was definitely having a hard time getting back into it so the class was refreshing and enjoyable as well as the wine and cheese! While sitting in the new yarn shop here on the Vineyard, surrounded by an assortment of beautiful and unique yarns, I really started to get inspired and bought yet another knitting magazine with some new patterns. I am hoping that by next fall I have a few more knit items to start listing in my Etsy shop ... we'll see! I also got inspired after talking with the instructor and hearing her abbreviated life story. While starting a family and in between jobs she started creating knitting patterns and selling them to big companies. So, I got thinking about this pattern I created when I started knitting and selling the baby SNUGGS (c) (hand knit suede like baby booties) ... It was my very own original design and pattern that I worked hard to get right and I had already started officially documenting the pattern but hadn't quite put the finishing touches on the document. So, over the last week (thanks to a nice rainy weekend) I really put myself to the challenge and finally finished the pattern! I had a friend do a quick review, updated the document and poof, a PDF was made! Listed the first copy in my Etsy shop (Knitstyle by MMC) the other night and the next morning I was so excited to learn that it SOLD!! So, to all the knitters reading this, please visit my patterns/kits section in my Knitstyle by MMC shop if you'd like to purchase your own copy of the SNUGGS(c) Pattern ... The pattern includes 2 full pages of instructions with lots of photos to help guide you through the steps.

Thursday, March 4, 2010

Lizard Ridge Knitting Technique

I recently signed up for a knitting class to learn the "Lizard Ridge" knitting technique. It was a last minute decision to join the class and I am so happy that I did. I haven't had a lot of extra time to dedicate to knitting lately and it was so nice to pick up my knitting needles again and start knitting something. So, the idea of the class is to knit a bunch of Lizard Ridge Squares (about 12"x12" or so) and then stitch all the squares together to make a beautiful blanket. Here is one example of a finished blanket (not mine!) Click on photo and it will bring you to the lizard ridge knitting instructions.


Hmmmm ... after one class, I am only 1/2 way through my first square! I'm thinking that this is going to take me a very long time to make a blanket like that! Or I might just make a pillow using my first square and go from there! Here's what I have finished so far ...


Happy knitting!

Monday, February 22, 2010

Knitstyle by MMC on Facebook!

Knitstyle (by MMC) now has a Facebook Page! For all those who are on Facebook please check out Knitstyle by MMC on Facebook and become a fan- you'll automatically be entered into a monthly free giveaway of 1 Medium sized Cloth Play Block. All fans will automatically be entered each month and 1 winner will be selected at random on the 15th of each month. First drawing will be held on March 15th and one lucky winner will receive a MEDIUM sized AVIARY Cloth Play Block (made with Joel Dewberry Fabric in 100% cotton)... so hurry and become a fan today! Winners will be posted on Knitstyle by MMC's Facebook Page.